


Phases
Several Revit applications are running. Choose one:
Icon


Related news and articles
Using
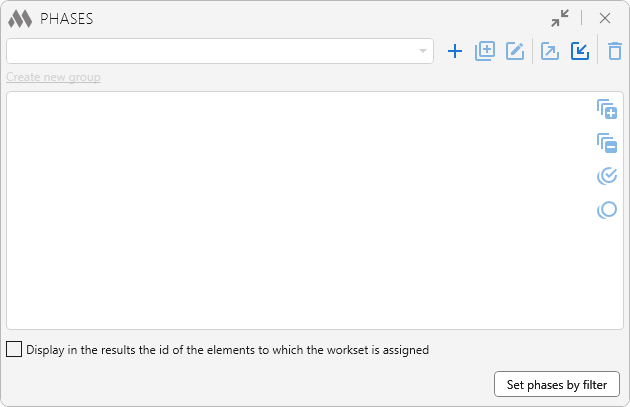
There must be at least one working configuration for the plugin to start working. To create it, click on  and then enter a name.
The configuration management buttons are located next to the drop-down list of configurations:
– create a new configuration. – duplicate the current configuration.
 –edit configuration name.
 – export configuration.
 – import configuration.
 – delete current configuration.
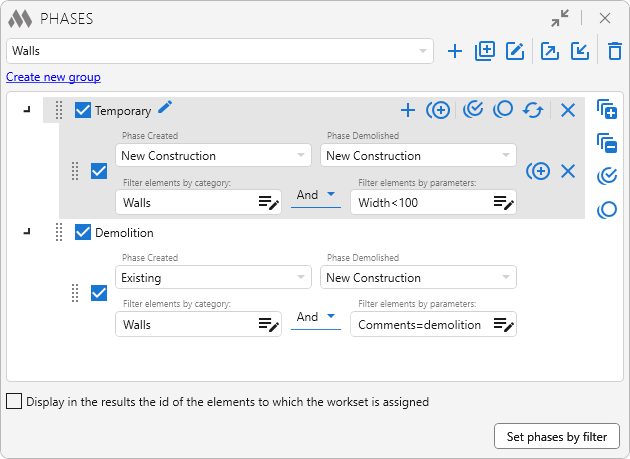
In the central part of the plugin window, there is a tree view of the groups of phase setup rules included in the configuration and group controls.
To create a new group of phase setup rules, click the Create new group button located below the field with the list of configurations and enter a name for the group in the dialog box.
Each created group in the tree has group control buttons (appears on mouseover):
 – edit group name. – add a new rule for phase setup.
 – duplicate the current rule group.
 – check all the rules of the current group.
 – uncheck all rules in the current group.
 – invert the selection of rules in the current group.
 – delete the current group.
Each stage setting rule contains drop-down lists with the stages of the current document to assign Phase Created and Phase Demolished, as well as elements filter. A sign  indicates that no phase is set in the rule. If the configuration settings contain a phase that is not present in the current document, a warning symbol
 appears next to its name. To set a phase, you must select at least one phase and fill at least one of the elements filters.
The rule in a group can be duplicated and deleted using the corresponding buttons that appear on mouseover.
To the right of the list of phase setup rule groups there are buttons to manage the list:
 – expand the lists of the rules within the groups.
 – to collapse the lists of the rules within the groups. – check all items in the list. – uncheck all items in the list.
Rule groups and rules can be dragged in the list by holding down the left mouse button.
Set phases by filters – sets phases for elements according to filter settings. Only checked rules in checked groups will be processed. When you click, two processing options are available: On active view or In model.
After executing the selected command, the results window appears. To display in the results window the id of the elements that are assigned a workset, you must enable the corresponding option at the bottom of the plugin window.