


MEP rotate

Several Revit applications are running. Choose one:
Icon


Related news and articles
- New plugin for Revit. MEP rotate
- Revit. MEP rotate 2.0. New " Edge-mounted Tray" and " Rotation in direction" commands
Using
The plugin consists of several commands:
MEP Element Rotation
Rotation of fittings or parts of MEP systems


After launching the command, it is necessary to sequentially execute the actions for element selection:
Select the element to rotate – select the element (fitting or system section) to be rotated.
Select the nearest element to the connector around which you want to rotate – MEP element selection: the element will be rotated around the nearest connector. It is possible to select the element to be rotated directly, in which case the rotation will be performed around the connector nearest to the selection point.
The command also handles the preselected element– if an element in the model is selected at the time of launch, that element will be counted as an element to rotate, and it will remain to select the nearest element to the connector.
After selecting the elements, the settings window will be displayed:
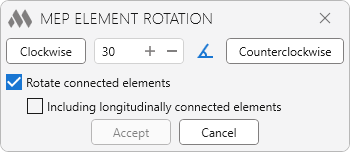
In the field it is necessary to specify the angle of rotation of the element. It can be entered manually or selected from the list of standard angles by clicking  .
Rotate connected elements – if this option is enabled, not only the selected element will be rotated, but also the elements connected to it (except those connected longitudinally).
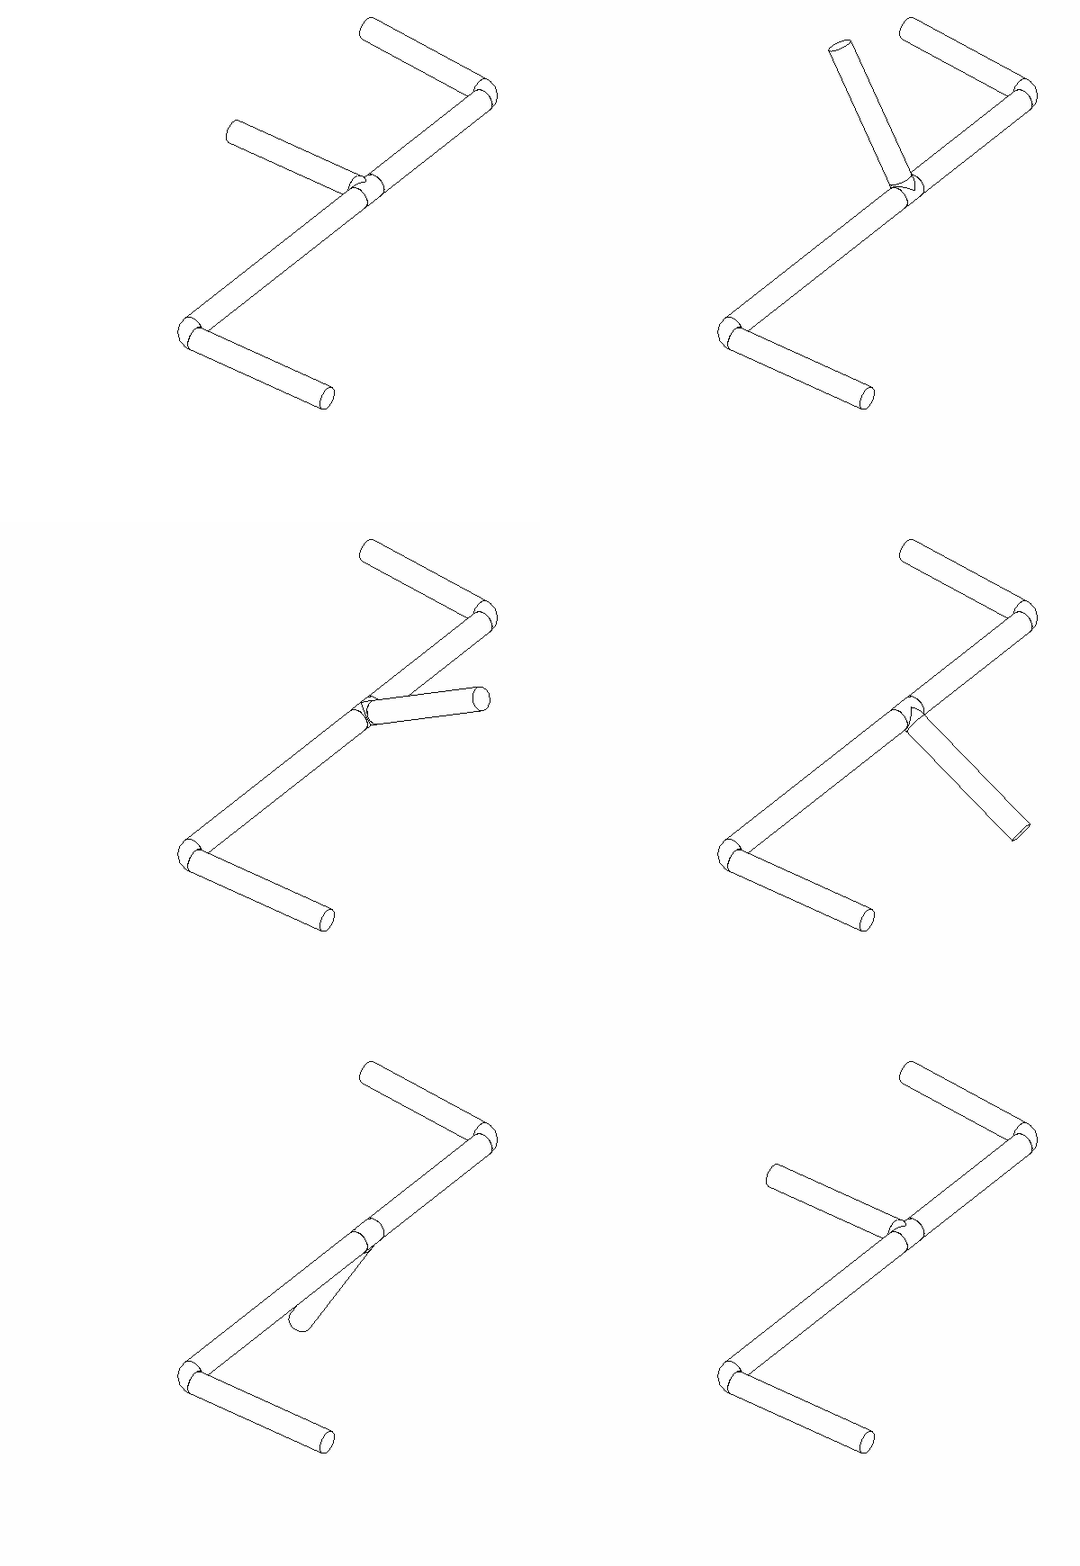
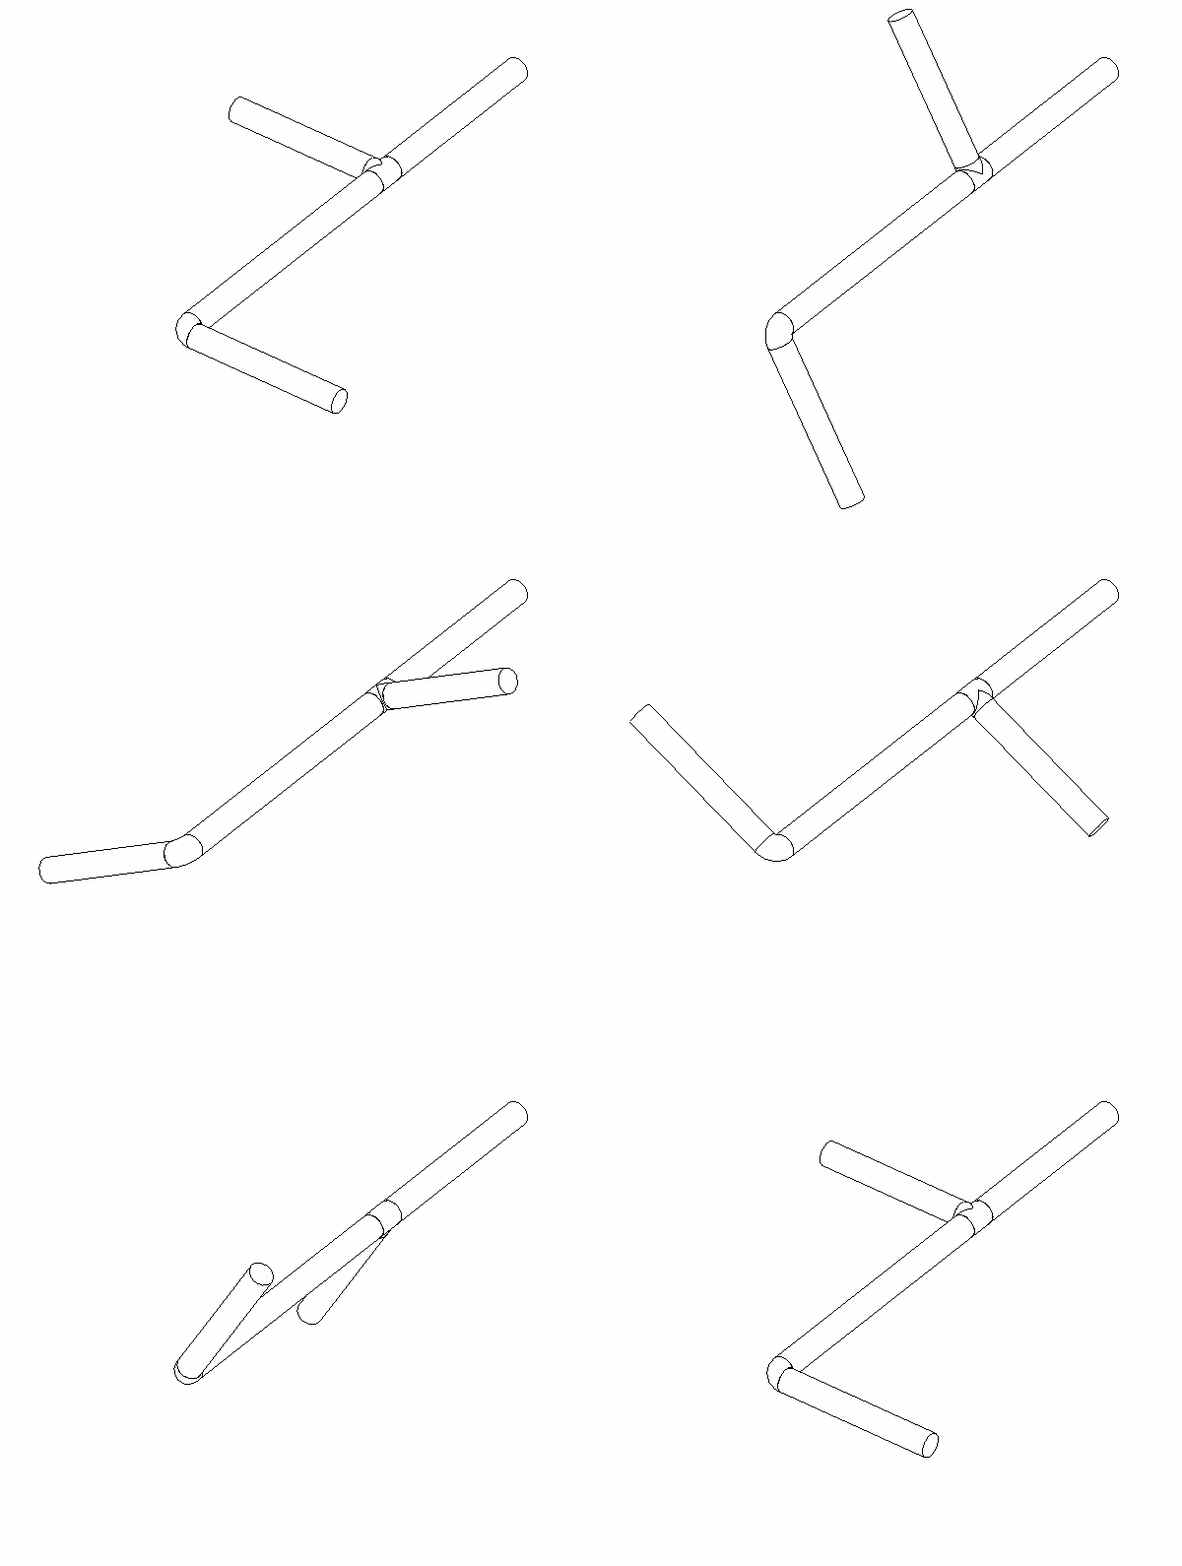
Then click one of the two buttons:
Clockwise – rotates the element by the specified angle clockwise when looking along the rotation axis from the side of the connector around which the rotation will be performed
Counterclockwise – rotates the element counterclockwise by the specified angle
After the element reaches the required position, you should click Accept, which becomes active after the first rotation of the element. The Cancel returns the element to its original position.
MEP Rotation in direction
Rotation of fittings or parts of MEP systems in the direction of the MEP curve


After starting the command, you must follow the steps to select elements in sequence:
Select an element to rotate – select the element (fitting or system section) to be rotated.
Select the reference MEP curve element – select the system section in the direction of the MEP curve reference axis of which the element will be rotated.
The command also processes the preselected element – if the element in the model is selected at the time of startup, it will be considered as an element to be rotated, and it remains to select the MEP curve reference element.
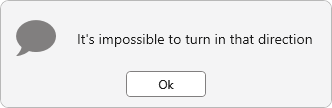
If the selected element cannot be rotated, a window will appear with an appropriate warning:
Edge-mounted Tray
Turning the cable tray on its edge


After running the command, you must select the cable trays to be rotated. The command also processes the elements previously selected in the model.
After selecting the elements, the settings window will be displayed:
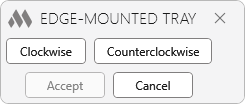
You should click one of the two buttons:
Clockwise – rotates the element around its axis by 90 degrees clockwise when looking along the rotation axis from the end of the element.
Counterclockwise – rotates the element around its axis 90 degrees counterclockwise when looking along the rotation axis from the end of the element.
After the element reaches the required position, you should click the Accept, which becomes active after the first rotation of the element. The Cancel returns the element to its original position.

 YouTube
 YouTube