


MEP connect

Several Revit applications are running. Choose one:
Icon


Related news and articles
Using
The plugin consists of several commands:
Connect connectors
Connect two connectors (or MEP curves) by rotating and moving the first selected one.


The command works in cycles. Each cycle consists of two requests to select an element:
Select the element to join – select the element (fitting or section of the network) to be connected.
Select element to connect – select the element (fitting or network section) to which the previously selected element will be connected.
Connection of elements is made through free connectors, which are located closer to the cursor position, which was at the moment of element selection. If the direction of the connectors does not coincide, the first (to be connected) element will be rotated.
Connect straight
Batch connection of straight pipes, ducts, wires, cable trays or conduits lying in one straight line.


When the command is launched, it is necessary to select linear sections of pipes, ducts, wires, cable trays or ducts. The plugin will then search for sections that lie in a straight line and connect them.
Connect diffusers
Batch connection of diffusers to ducts


After starting the command, select in the model the diffusers to be connected and the ducts to which you want to connect the diffusers, and click "Finish". Then the settings window will be displayed:
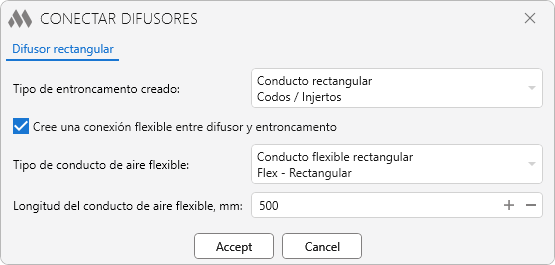
The settings window will have several tabs (1 to 3) depending on the shape of the connector of the selected diffuser: settings for round diffusers, settings for rectangular diffusers, and settings for oval diffusers. The settings on these tabs are identical.
Type of branch to be created – drop-down list of duct types of the current document, in which you select the type of duct used to build the branch (section between the diffuser and the target duct).
Create a flexible connection between diffuser and branch – if checked, a flexible connection between diffuser and branch will be created. The properties Flexible duct type (sets the type of flexible duct) and Flexible duct length (sets the projection distance (i.e. duct length in plan) between the connection points of the flexible duct) will become active.
The command processes only diffusers which have one unconnected connector oriented along the Z-axis.
Disconnect сonnectors
Breaks the connection between the nearest connected connector of the selected MEP element and the adjacent element.


The command works cyclically. After starting the command, the following action must be performed:
Select the element to disconnect – select the element that will be disconnected. The disconnection will occur through the connector closest to the cursor position at the moment the element is selected.
Disconnect from system
Disconnecting a connected branch of MEP elements from the system.


After running the command, perform the following action:
Select a system element to disconnect. If the element has several systems, click closer to the connector of the required system – selection of the element by which the system will be disconnected. The branch of elements connected to it will be disconnected from the system.
After completing the operation, a results window will open:
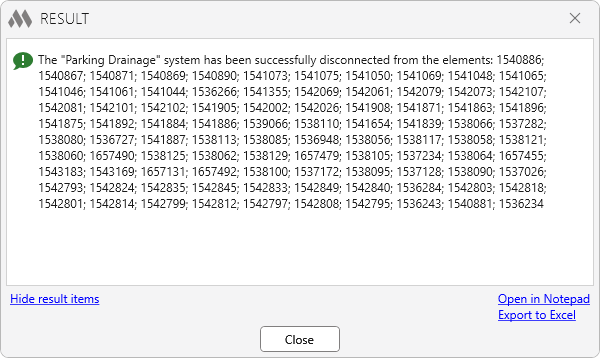
The disconnected elements will be automatically selected in the model.

 YouTube
 YouTube