


MEP split

Several Revit applications are running. Choose one:
| Name | Discount | Total value of individual orders | Total value of corporate orders |
|---|---|---|---|
| Regular user | 0% | ||
| 3% discount | 3% | $84 | $180 |
| 5% discount | 5% | $120 | $360 |
| 7% discount | 7% | $180 | $600 |
| 10% discount | 10% | $300 | $900 |
| 15% discount | 15% | $360 | $1 200 |
| Partners | 30% | ||
| BIM Consulting | 50% | ||
| Super VIP | 100% |
Icon


Related news and articles
Using
The plugin allows you to split MEP elements using one of the presented splitting methods, as well as to merge split MEP elements.
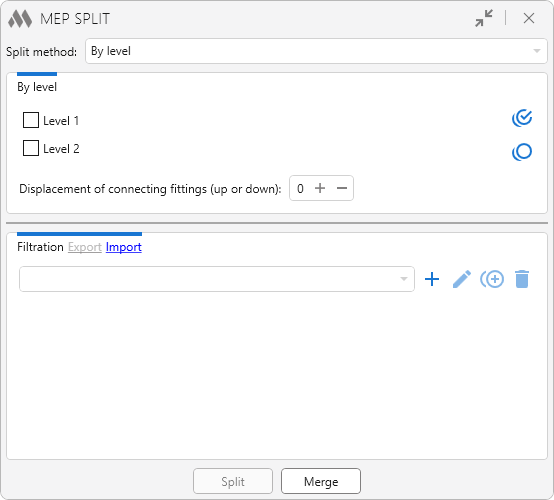
SPLIT
In the upper part of the plugin window you select the method of splitting and set the settings for the selected method. The plugin supports the following split methods:
By levels
Splitting MEP elements by specified levels. The levels are selected from the list of available levels:
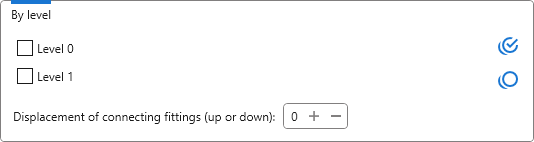
To divide the MER of the curve, you can specify the amount of offset relative to the specified level up or down (with a "-" sign).
For connecting fittings, you can specify the amount of displacement up or down (with sign "-") from the specified level.
By reference planes
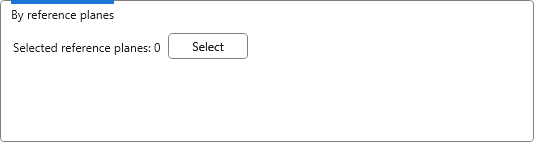
Splitting MEP elements by selected reference planes. To be able to use the split method it is necessary to select the reference planes by clicking the corresponding Select button:
Maximum length
Splitting MEP elements into an equal number of parts whose length will not exceed the specified value:
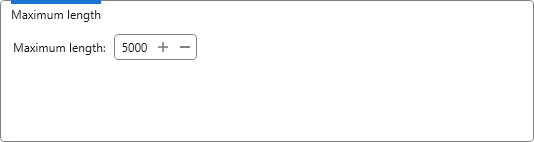
For example, if the maximum length is specified 3000 mm and the pipe length is 8000 mm, the pipe will be divided into 3 parts with a height of 2667 mm.
Exact length
Splitting MEP elements into parts of a specified length:
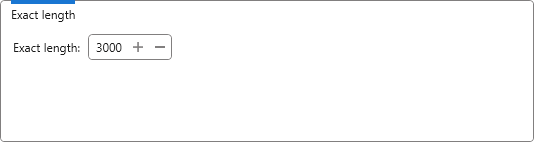
If the MEP element length does not divide by the specified value without a remainder, the remainder will be shifted to the end of the element.
Quantity
Splitting MEP elements into the specified number of parts:
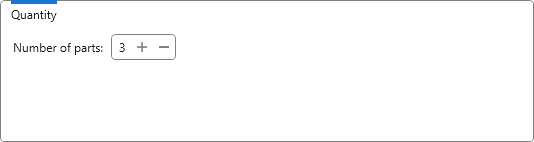
FILTERING
In the lower part of the window you can create custom configurations of element selection using element filters.
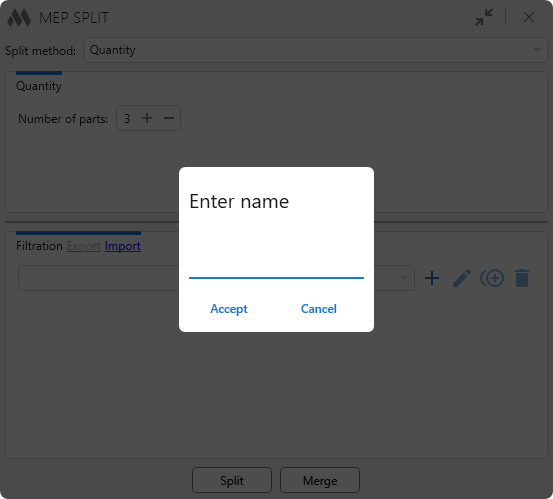
After adding a new configuration, it is necessary to give it a name in the window that opens. Configurations can be renamed  , duplicated
 and removed
 by using the corresponding buttons located to the right of the drop-down list of custom configurations. Configurations can be exported and imported using Export and Import.
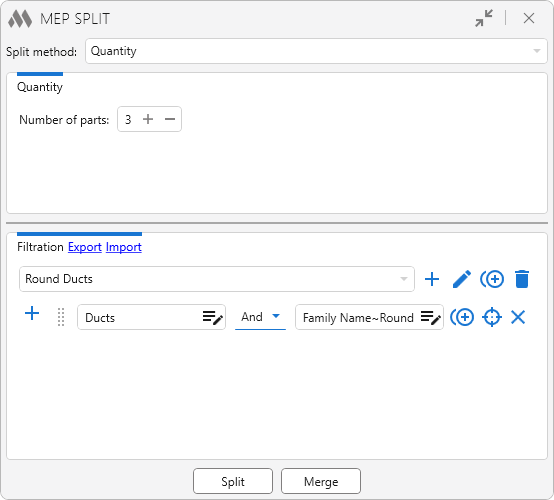
Next, one or more item selection conditions must be added using  . Each condition can be duplicated and removed
 , as well as the elements satisfying the specified condition can be selected and shown in the model
 .
If you press Split, you will be offered the option of selecting the processed elements — By filtration or Selected elements, after which the selected elements will be split according to the selected method of splitting.
MERGE
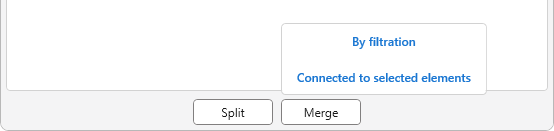
To merge MEP elements, you should press Merge and select the option of selecting the processed elements — By filtration or Connected to selected elements. In the case of selecting Connected to selected elements option it is enough to select one element from several MEP curves connected with connecting fittings or MEP curves connected without fittings to combine them into one MEP curve.

 YouTube